
Thank You for Your IceCap Purchase
We appreciate your confidence in our IceCap product. If you’re missing a part, experiencing an issue, or simply have a question, please contact our support team at support.coralvue.com. IceCap Pro Turf Scrubbers are designed to be effective, safe, easy to use, and—most of all—affordable, helping you battle excessive nutrients. You won’t find a turf scrubber that’s easier to set up and use! IceCap Pro Turf Scrubbers are available in three in-sump models for aquariums up to 350 gallons.
How it Works
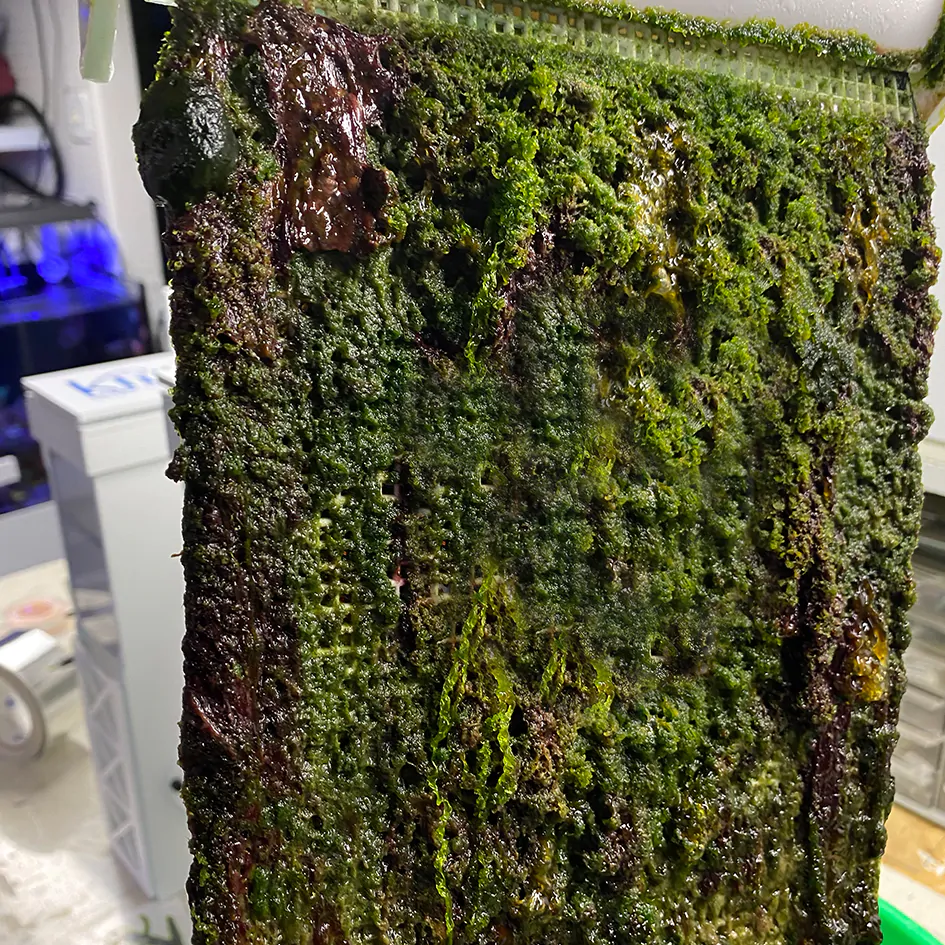
The External IceCap Algae Scrubbers are designed to be placed externally to your sump. The Pro Turf Scrubber works by nutrient-rich water trickling down a screen that is illuminated on both sides by powerful full-spectrum LED panels. As algae begin to grow on the screen, it "scrubs" your aquarium water of excess nutrients. As the algae cover the entire screen, you "harvest" it by removing a sizable portion, thereby removing the contaminants that fueled its growth from your system.
This all-natural form of water filtration can reduce and even eliminate the need for water changes. Best of all, algae scrubbers are safe for use in freshwater, saltwater, and reef aquarium systems.
To install your IceCap Scrubber, you will need:
- Room near or above your sump
- Clearance above to remove the scrubber lid and perform maintenance. (2-3in min)
- A timer or controller
- Possibly a PVC/tubing cutter, knife, or scissors to trim the feed tubing to size
PVC pipe and glue for the drain and the emergency drain(not included)
Installation
- The IceCap External Pro Turf scrubbers come fully assembled. Just clean off the packaging material and adjust the height to accommodate the water depth of your sump.
- Attach the output of the feed pump to the included tubing.
- Add the other end of the tubing to the barbed intake of the scrubber.
- Plumb the main drain and the emergency drain separately. Glue all PVC fittings. Run the plumbing from each of the drains in a downward slope to the sump.
- Power on the feed pump and test the flow over the screen and inspect for any unwanted leaks. Pay close attention to the two dry chambers for the LED panels. We don’t want water spraying or entering these two chambers. Using the red valve on the feed line, close the valve slightly to Lower the flow till the water trickles down the screen.
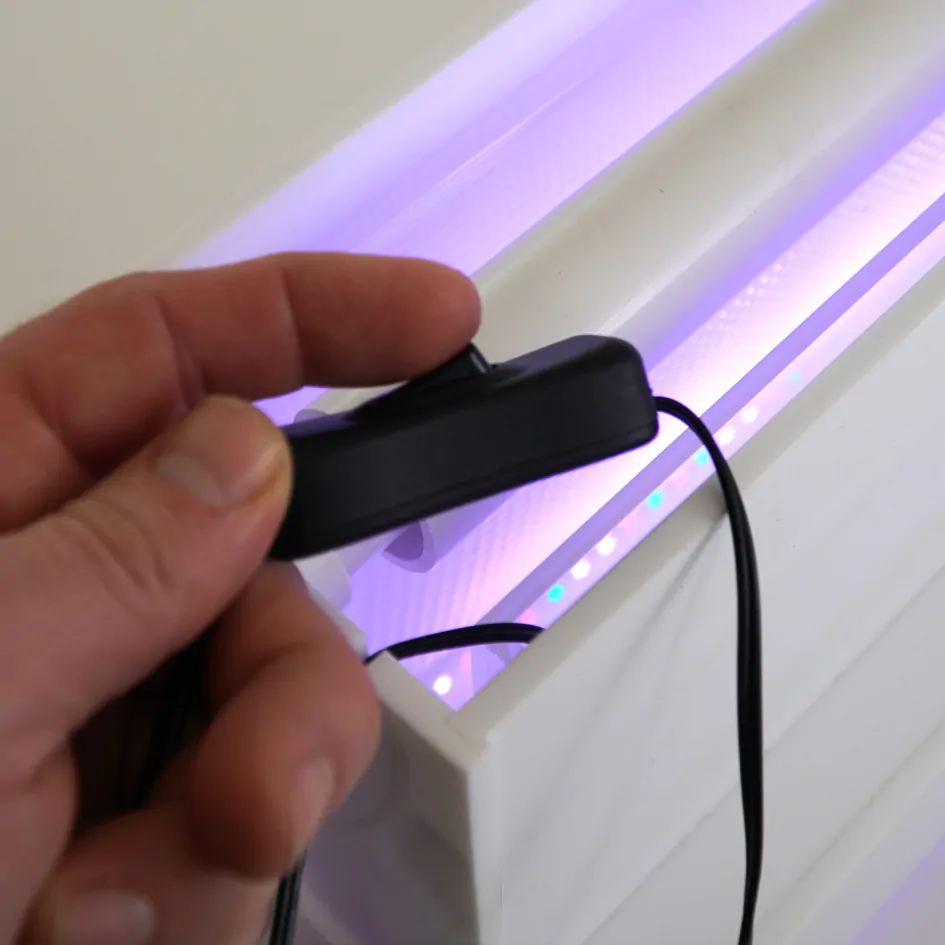
- Insert the LED panels so the light faces the center of the scrubber and the cords face the pump side of the scrubber. Make all connections from the light, toggle switch, and power supply.
Automating the Lighting
Many hobbyists prefer to run their algae scrubbers on a reverse daylight schedule to help stabilize the pH of your aquarium water. You can accomplish this by plugging the LED lights into a timer or aquarium controller and programming it for a 12-hour daily photoperiod that runs opposite of the daylight schedule of your display tank.
Helpful tip: During the first week after installation, only use half the lights to allow the screen to seed.
Harvesting Turf
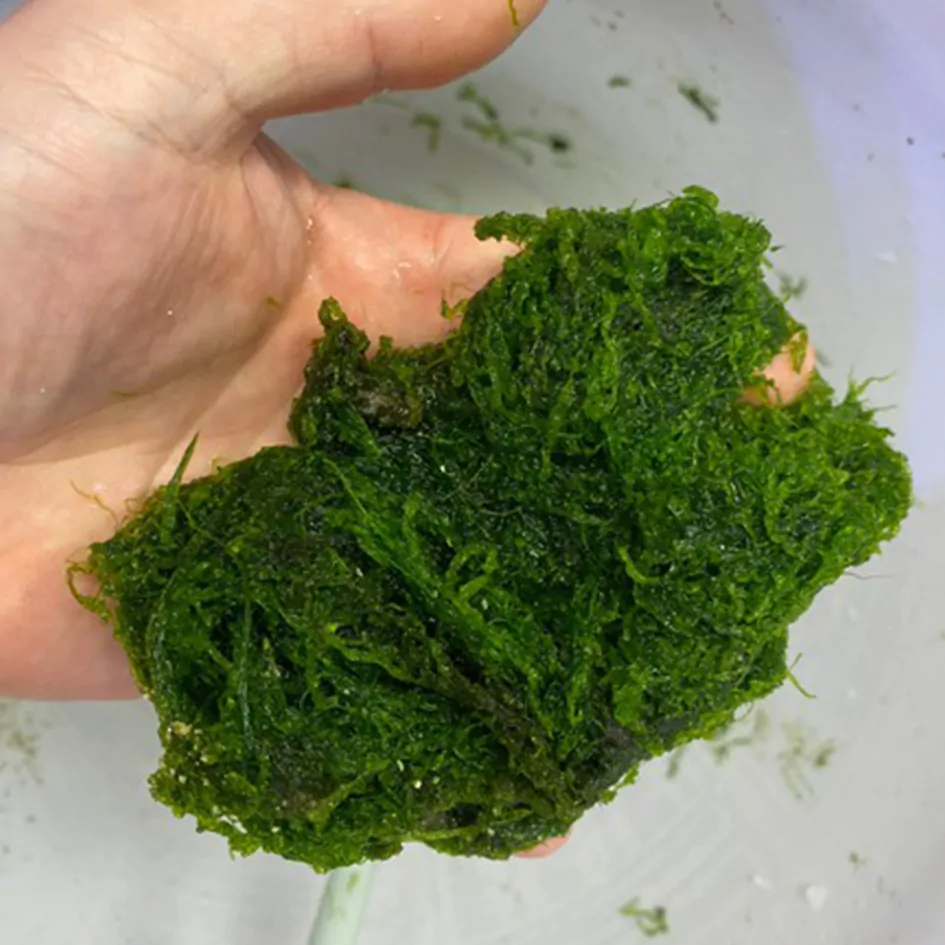
To harvest the scrubber, remove the top and loosen the quick-release union on the side. Lift the pipe, and screen out the algae, then scrape off algae using an old credit card, but do not remove it all. Leave some algae behind to seed the next batch so that it will grow faster. Under normal circumstances, you will be harvesting algae every 1-3 weeks.