



![youtube - [Video]](/web/image/product.image/2060/image_128/youtube%20-%20%5BVideo%5D?unique=0566307)
IceCap 200 GPD Reverse Osmosis RO/DI Water Filtration System
SKU: IC-RI200
MSRP: $ 254.09
-
Available Through Authorized Retailer
- Massive 200 GPD Production Output: Custom-tuned for high-demand reef aquariums, coral propagation systems, and multi-tank setups needing large water volumes quickly.
- Dual Dow Filmtec Membranes: Houses two world-class 100 GPD Dow Filmtec thin-film composite (TFC) membranes linked in series to maximize total salt rejection and flow throughput.
- Eco-Friendly 1.5:1 Water Saver Ratio: Smart plumbing recycling loop cuts your wastewater volume in half compared to standard systems, operating at a highly efficient 1.5:1 waste-to-pure ratio.
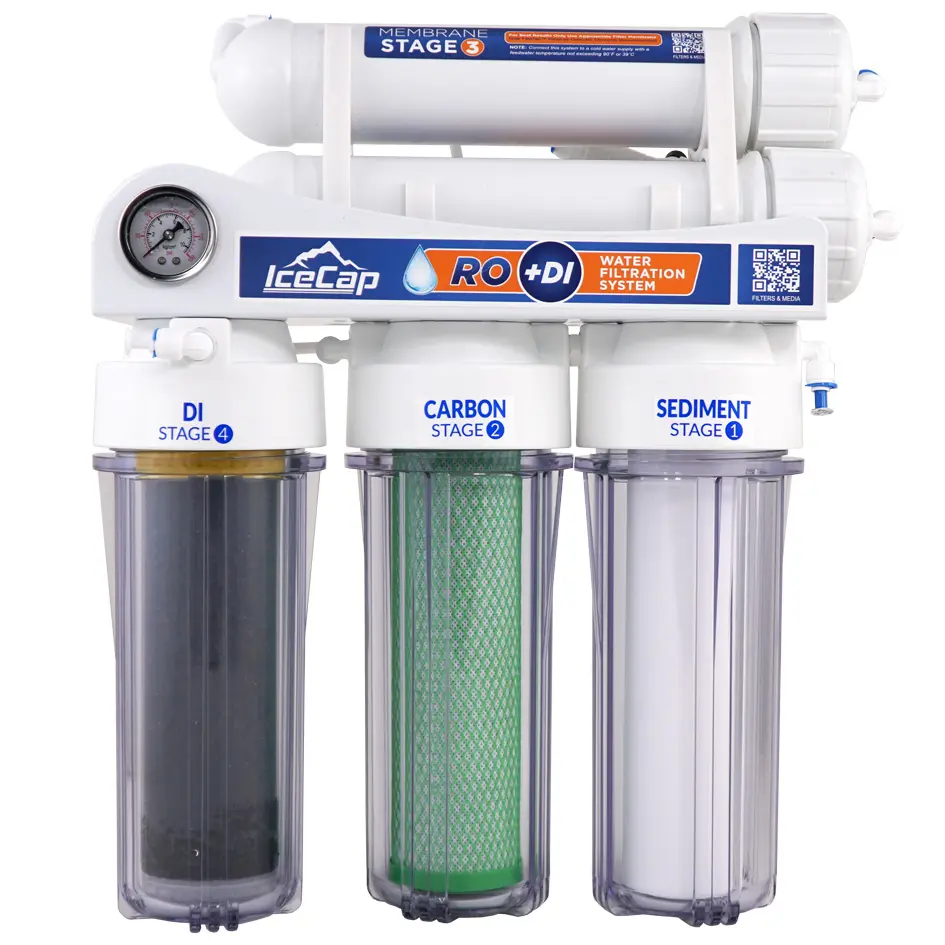
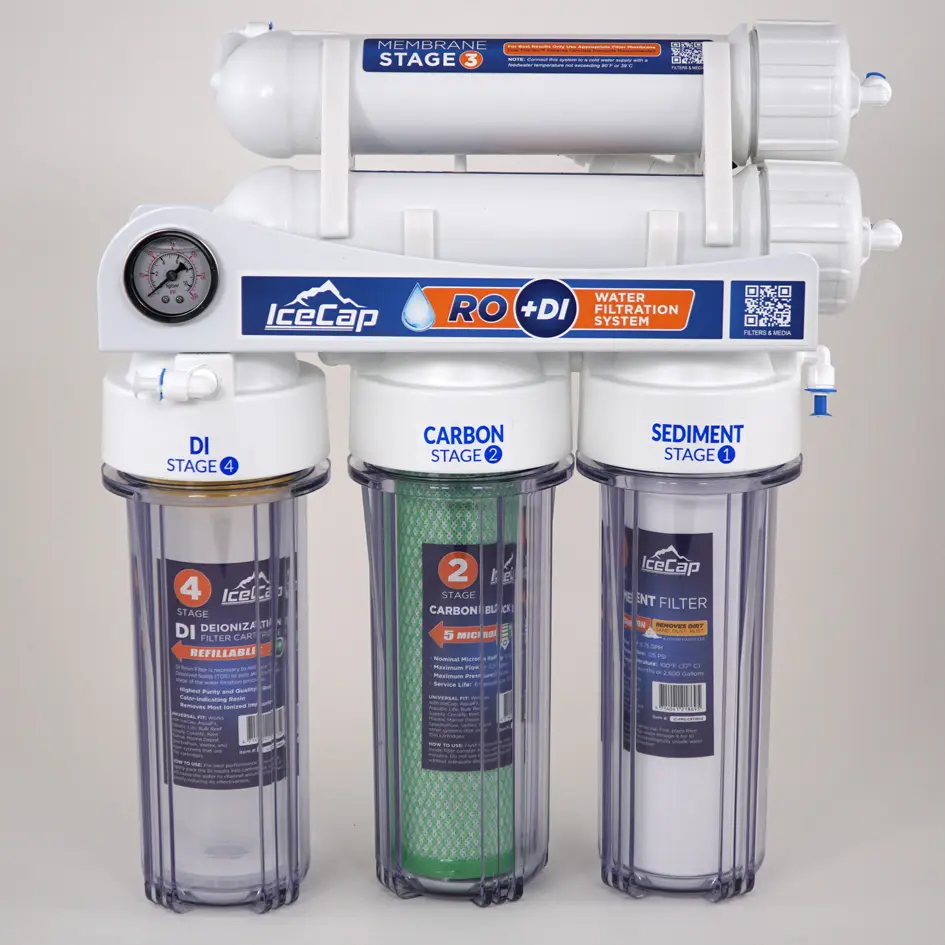
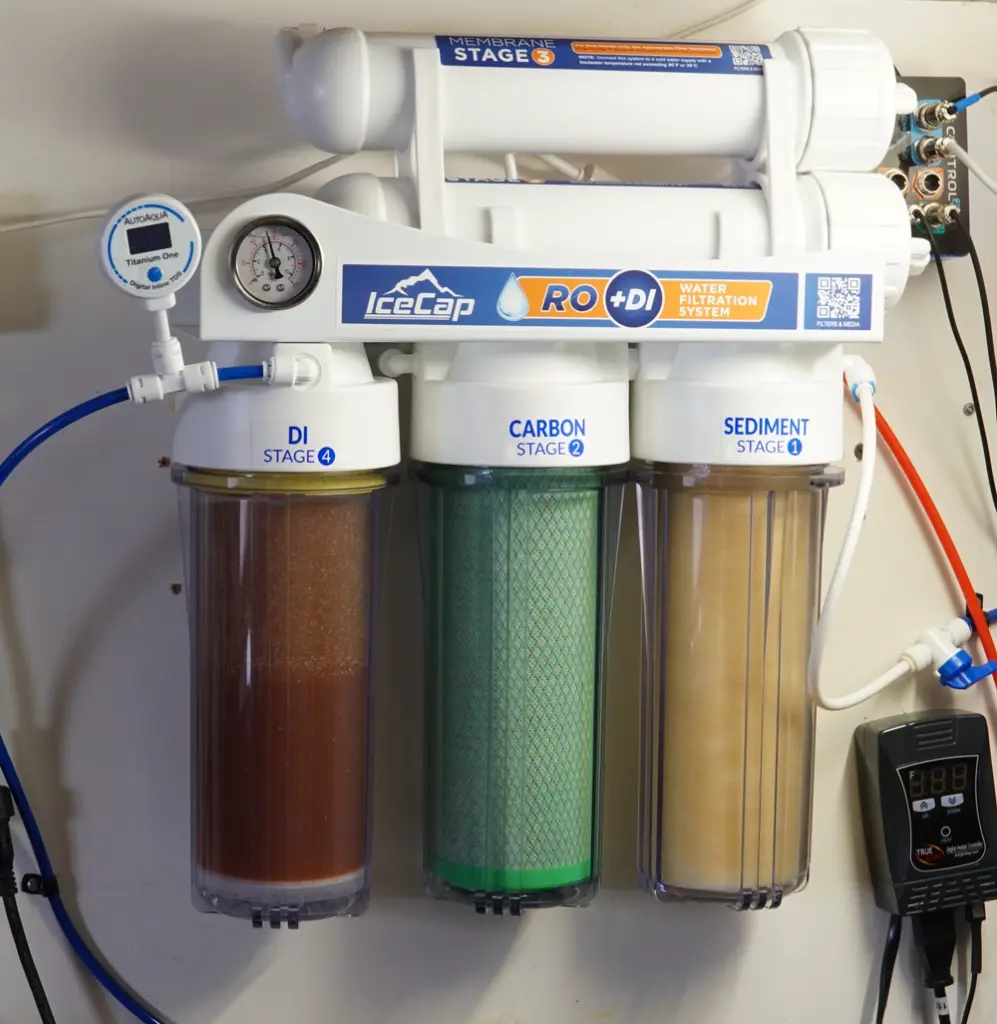
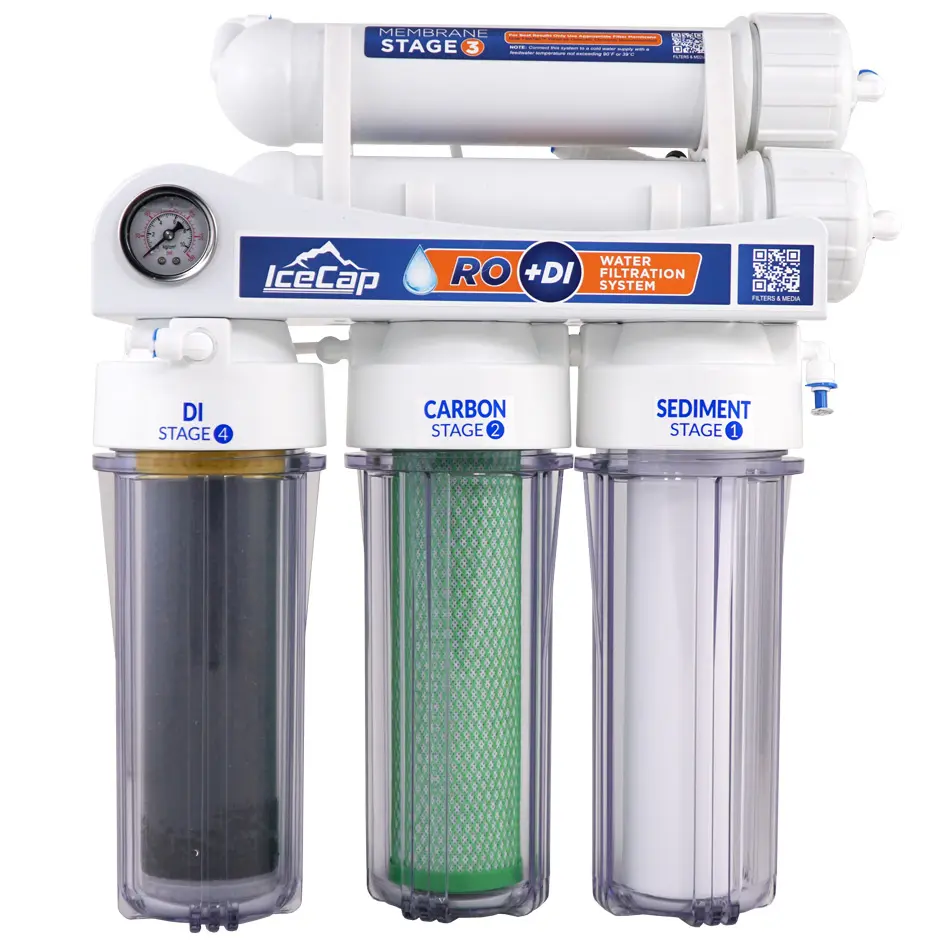
- Extended Transparent Canisters: Features heavy-walled, clear 10-inch vertical pre-filter and DI housings to permit quick, effortless visual media audits.
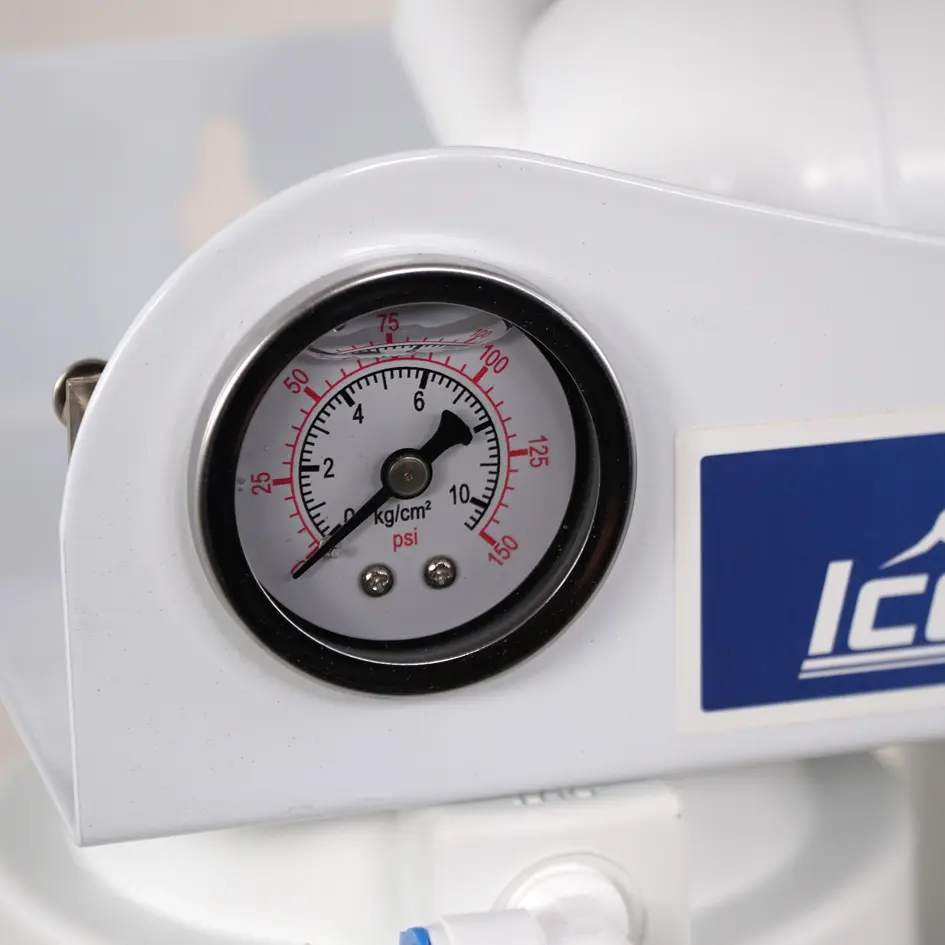
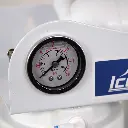
- Glycerin-Filled Pressure Gauge: Integrates a vibration-dampened mechanical pressure gauge directly onto the steel frame to smoothly monitor line limits from 0 to 100 PSI.
- Autonomous Non-Powered Operation: Runs purely on your home’s baseline water utility pressure, requiring no external wiring or wall-outlet power bricks.

IceCap
Premium aquarium equipment without the premium price. Protein skimmers, pumps, reactors, heaters & more.
Highest-Output 4-Stage RO/DI System in the IceCap Line
Key Features:
- 200 GPD output is the highest in the IceCap RO/DI line, rated for the fastest fill times and largest water change volumes.
- 1.5:1 waste-to-product ratio produces significantly less wastewater per gallon than the 75 GPD or 100 GPD models.
- Dow Filmtec TW30-1812-100HP membrane provides 96 to 98% typical salt rejection at 65 PSI.
- Refillable DI cartridge with color-changing resin for visual exhaustion monitoring.
- Auto shut-off valve and manual flush flow restrictor included.
- No power source required; runs on 65 to 80 PSI household water pressure.
- Same footprint and dimensions as the 150 GPD at 16" x 6.5" x 18".
- Standard 10" canisters and 1/4" push-connect fittings.
- Glycerin-filled pressure gauge included.
Ideal For:
- Large reef and saltwater systems where daily top-off or frequent large water changes require the highest available purified water output.
- Fish rooms, coral propagation setups, or multi-tank systems where production volume is the primary concern.
- Hobbyists on metered water or in drought-restricted areas who also need maximum output and want the best waste ratio available in the line.
- Installations where supply pressure is reliably 65 to 80 PSI or where a booster pump is already in use.
200GPD System
IC-RI200
200* Gallons Per Day
16 x 6.5 x 18in (LxWxH)
1.5:1 Waste to Water Ratio
98% Rejection Rate*
Auto Shut Off Valve
Man. Flush Flow Restrictor
Installation Adapters
65-80psi Water Pressure*
1/4in RO Tubing Required
This Product
150GPD System
IC-RI150
150* Gallons Per Day
16 x 6.5 x 18in (LxWxH)
1.5:1 Waste to Water Ratio
99% Rejection Rate*
Auto Shut Off Valve
Man. Flush Flow Restrictor
Installation Adapters
60-80psi Water Pressure*
1/4in RO Tubing Required
Learn More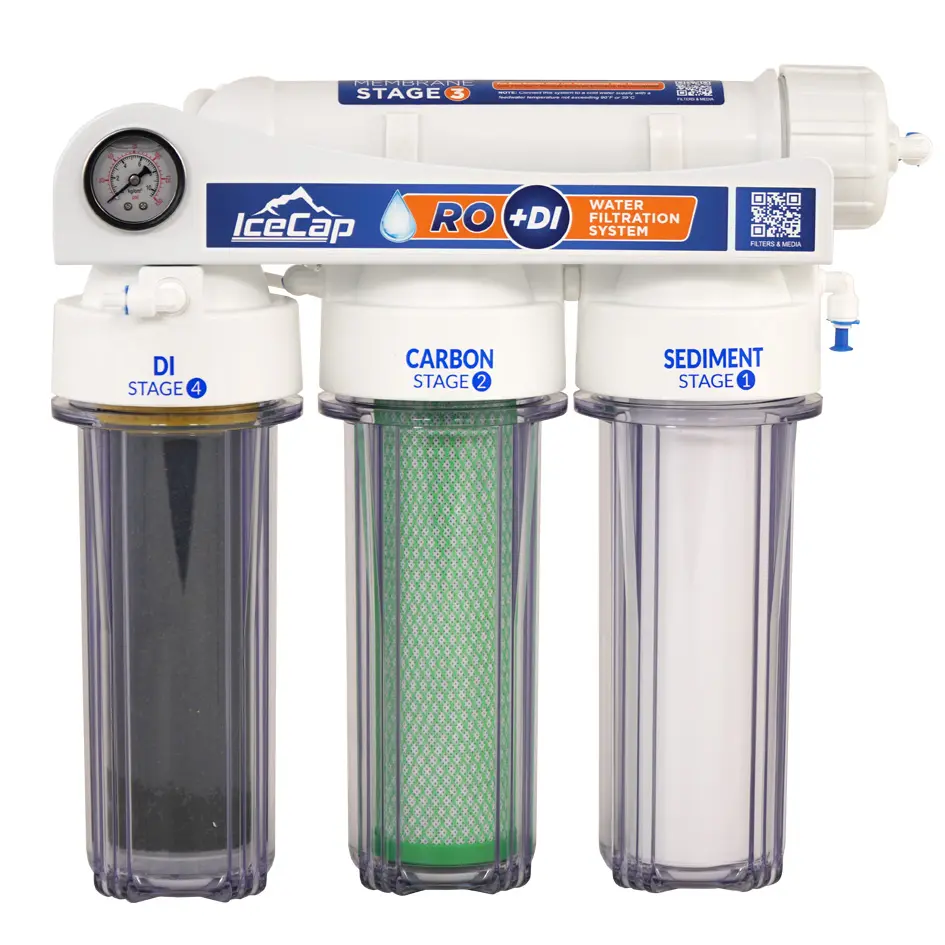
100GPD System
IC-RI100
100* Gallons Per Day
16 x 6.5 x 15.5in (LxWxH)
3:1 Waste to Water Ratio
98% Rejection Rate*
Auto Shut Off Valve
Man. Flush Flow Restrictor
Installation Adapters
50-80psi Water Pressure*
1/4in RO Tubing Required
Learn More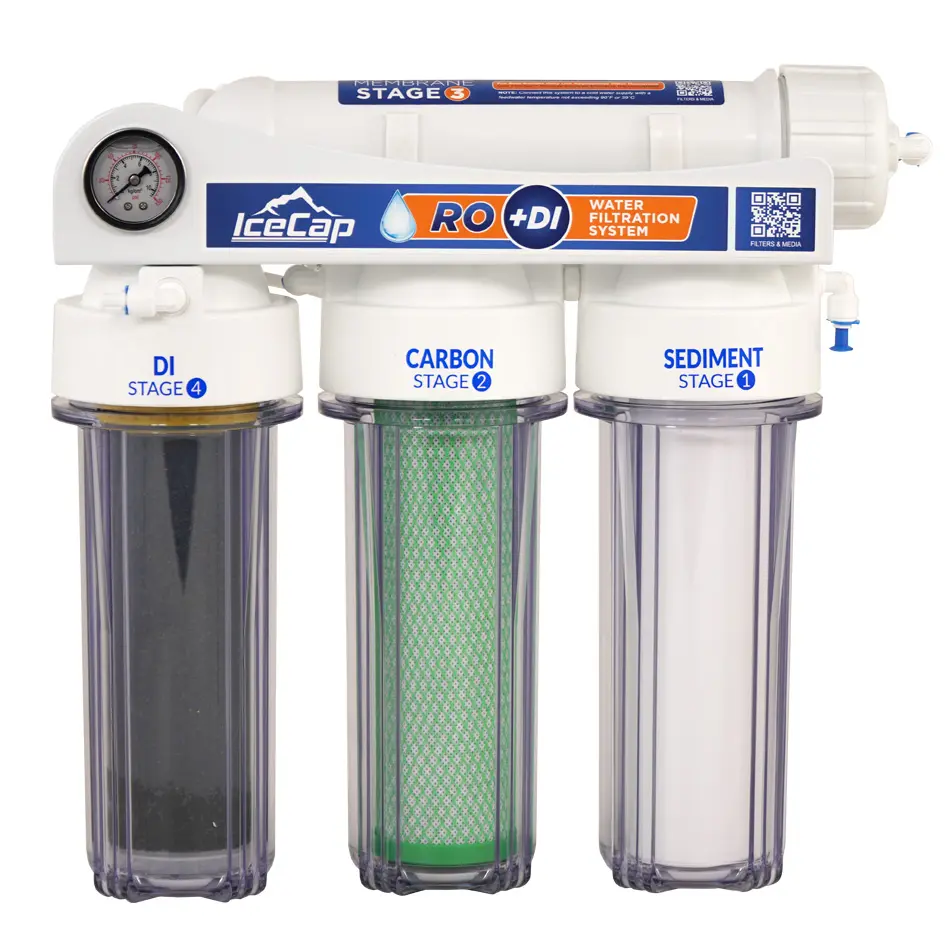
75GPD System
IC-RI75
75* Gallons Per Day
16 x 6.5 x 15.5in (LxWxH)
3:1 Waste to Water Ratio
99% Rejection Rate*
Auto Shut Off Valve
Man. Flush Flow Restrictor
Installation Adapters
50-80psi Water Pressure*
1/4in RO Tubing Required
Learn MoreWhat's Included:
- 200 GPD RO/DI system with mounting hardware
- Stage 1: IceCap 5-micron polypropylene sediment filter
- Stage 2: IceCap 5-micron CTO carbon block filter
- Stage 3: Dow Filmtec TW30-1812-100HP RO membrane
- Stage 4: Refillable mixed-bed DI resin cartridge (color-changing)
- Glycerin-filled pressure gauge
- Auto shut-off valve
- Manual flush flow restrictor
- Installation fittings and 1/4" polyethylene tubing
- Universal filter wrench
Specifications:
- Output: 200 GPD*
- Waste-to-Product Ratio: 1.5:1
- Rejection Rate: 98% typical*
- RO Membrane: Dow Filmtec TW30-1812-100HP
- Optimal Feed Pressure: 65 to 80 PSI
- Maximum Water Pressure: 150 PSI
- Optimal Water Temperature: 25°C (77°F)
- Maximum Water Temperature: 39°C (90°F)
- pH Range: 2 to 11
- Canister Size: Standard 10"
- Plumbing: 1/4" push-connect fittings
- Dimensions (L x W x H): 16" x 6.5" x 18"
- Power Required: None
Warranty
CoralVue, Inc. hereby guarantees this product to be free from defects in material and workmanship for a period of:
- 1 Year
Warranty is activated on the date of purchase.
This Standard Limited Warranty applies and is limited as follows:
- To the product only as long as it remains in the possession of the original purchaser.
- To the product that has not been subject to accident, misuse or abuse.
- To the product that has not been modified, altered, defaced, or had repairs made or attempted by other than CoralVue, Inc.
- That CoralVue be immediately notified in writing within ten (10) days of first knowledge of defect by owner or his agent.
- That CoralVue, Inc. shall be given first opportunity to make any repairs, replacements or corrections to the defective construction within a reasonable period of time.
- Under no circumstances shall CoralVue and/or the Manufacturer be liable by virtue of this warranty or otherwise for damage to any person or property whatsoever for any special, indirect, secondary or consequential damages of any nature however arising out of the use or inability to use because of the product defect.
Instructions:
- Check feed water pressure. Confirm your tap water line delivers 50-80 psi. Use the included glycerin-filled pressure gauge after installation to verify. If pressure is below 50 psi, a booster pump is required before the system for consistent output.
- Mount the bracket. Secure the filter bracket to a wall or cabinet in a location within reach of your feed water supply line and a drain for the waste line. Keep it out of freezing temperatures.
- Connect feed water. Use the included installation fittings to connect the system's inlet to your cold water supply line via ¼-inch push-connect tubing.
- Connect the waste line. Route the concentrate (waste) line to a drain using the provided fittings. Do not restrict or cap the waste line — this will damage the membrane.
- Connect the product line. Run the purified water output line to your storage container.
- Flush before use. Run the system for a minimum of 30 minutes before collecting water for use. Discard this initial flush volume to clear preservatives from the membrane and carbon fines from the block filter.
- Verify output TDS. Use a TDS meter on the DI output to confirm 0 ppm before using water in your system. Color-changing resin in the DI cartridge will begin shifting from blue/purple to yellow/amber as it exhausts.
- Stage 1 – Sediment filter: every 6-12 months
- Stage 2 – Carbon block: every 6-12 months
- Stage 3 – RO membrane: every 2-5 years
- Stage 4 – DI resin: when color change is visible, or when output TDS rises above 0 ppm
IceCap 4-Stage RO/DI — Quick Start Guide
Applies to: IC-RI75, IC-RI100, IC-RI150, IC-RI200
What's in the Box
| Item | Description |
|---|---|
| White tubing (3m) | Feed line — connects to cold water supply |
| Blue tubing (3m) | Product water line — purified water output |
| Red tubing (3m) | Waste water line — drains to sink or drain |
| Garden hose adapter | Connects to laundry sink or spigot |
| 1/4" ball valves (x2) | Feed shutoff (required) + product shutoff (optional) |
| Drain saddle | Secures waste line to drain pipe |
| Filter wrench | Left = open, Right = close |
Filter Stages
Stage 1 — 5µ Sediment filter: removes particles and debris
Stage 2 — 5µ Carbon block: removes chlorine and organics
Stage 3 — DOW Filmtec RO membrane: removes 98%+ of salts, metals, and bacteria (150/200 gpd units include 2 membranes)
Stage 4 — DI cartridge: final polish to 0 TDS
Minimum Feed Pressure
- 75/100 gpd models: 50+ PSI
- 150/200 gpd models: 65+ PSI
⚠️ Never run water hotter than 100°F (38°C) through the system.
Installation Steps
Step 1 — Connect the Water Supply
- Shut off your cold water supply.
- Attach the white feed line to your cold water source using the included garden hose adapter.
- Install the ball valve inline between the water source and the unit.
Step 2 — Connect the Waste Line
- Attach the red waste line to the supplied drain saddle.
- Secure the drain saddle to your sink drain pipe.
- Make sure the line is secured so it can't fall out and flood.
Step 3 — Flush the Pre-filters (10 minutes)
- Place the blue product line into a drain (not your collection container).
- Install Stage 1 (sediment) and Stage 2 (carbon) filters — do not install the membrane or DI yet.
- Slowly open the water supply and let it run for 10 minutes to flush the pre-filters.
- Check all fittings for leaks before walking away.
Step 4 — Install & Flush the RO Membrane (30 minutes)
- Turn off the water supply.
- Remove the RO membrane from its protective bag and install it into the membrane housing at the top of the unit. (You'll need to disconnect the tubing to unscrew the cap.)
- Reconnect tubing and turn the water back on.
- Let water run through for 30 minutes to flush the anti-bacterial preservative from the membrane.
- Keep the blue product line draining — do not install the DI cartridge yet.
Step 5 — Fill & Install the DI Cartridge
- Turn off the water supply.
- Unscrew the top cap of the DI cartridge and remove the foam ring.
- Using a funnel, fill the cartridge with DI resin.
- Tap the cartridge gently to settle the resin — it should be packed tight and flush to the rim.
- Replace the foam ring, screw the cap back on.
- Install the DI cartridge with the colored cap facing up.
Step 6 — Start Making Clean Water
- Move the blue product line to your collection container.
- Turn the water supply on.
- Check all connections one more time for leaks.
Maintenance Schedule
| Component | When to Replace |
|---|---|
| Sediment filter | Every 4–8 months, or when visibly dirty / pressure drops |
| Carbon block | Every 4–8 months (replace at same time as sediment) |
| DI resin | When output TDS reaches 5 ppm or higher |
| RO membrane | Every 2–3 years, or when TDS reads above 30–40 µS |
Additional tips:
- Membrane flush: Run the flush valve for 1–2 minutes before and after each use. Flush at minimum every 2–3 weeks to descale.
- Pressure gauge: A dropping pressure reading means your pre-filters are starting to clog — time to replace them.
- O-rings: During every filter change, clean and lubricate housing o-rings with food-grade silicone grease.
Pro Tips:
- Confirm your supply pressure reaches 65 PSI before purchasing. The 200 GPD requires 65 to 80 PSI to achieve its rated output and 1.5:1 waste ratio. At lower pressures, performance degrades toward the 75 or 100 GPD level regardless of the membrane's capacity. A booster pump is the most reliable solution if the supply pressure is below 65 PSI.
- At 200 GPD, storage becomes the limiting factor for most hobbyists. A dedicated RO/DI storage container or reservoir sized for at least 50 to 100 gallons ensures that the system's output is never wasted due to a full auto shut-off. The auto shut-off valve will stop the system when the connected container is full, so larger containers mean longer unattended run times.
- Flush the membrane before first use. Run water to drain for 30 to 60 minutes before collecting product water to clear the membrane preservative.