

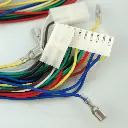

IceCap Smart RO/DI Wire Harness
SKU: IP-RI-WH01
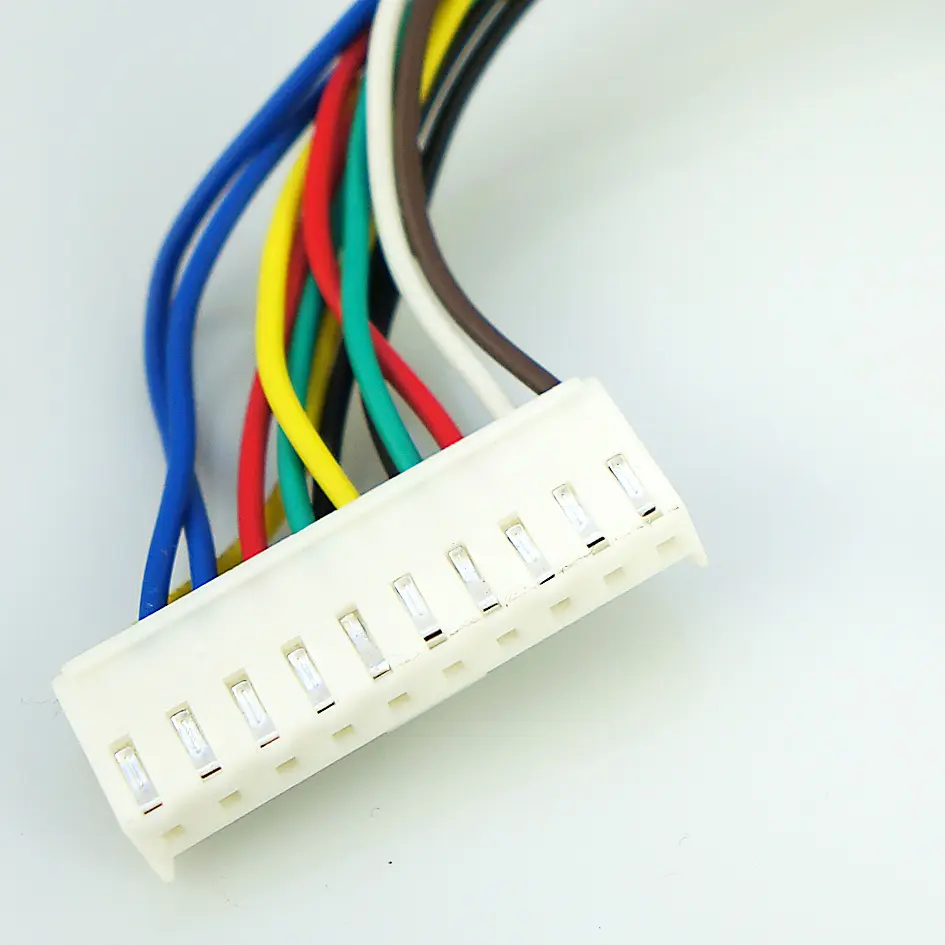
- Direct OEM Smart RO/DI Integration: Factory-original multi-lead wiring harness engineered specifically for the IceCap Smart RO/DI System and IceCap Booster Pump assemblies.
- Centralized Electrical Distribution: Safely routes 24V DC regulated power and microswitch logic between the power supply, booster pump, and system controller.
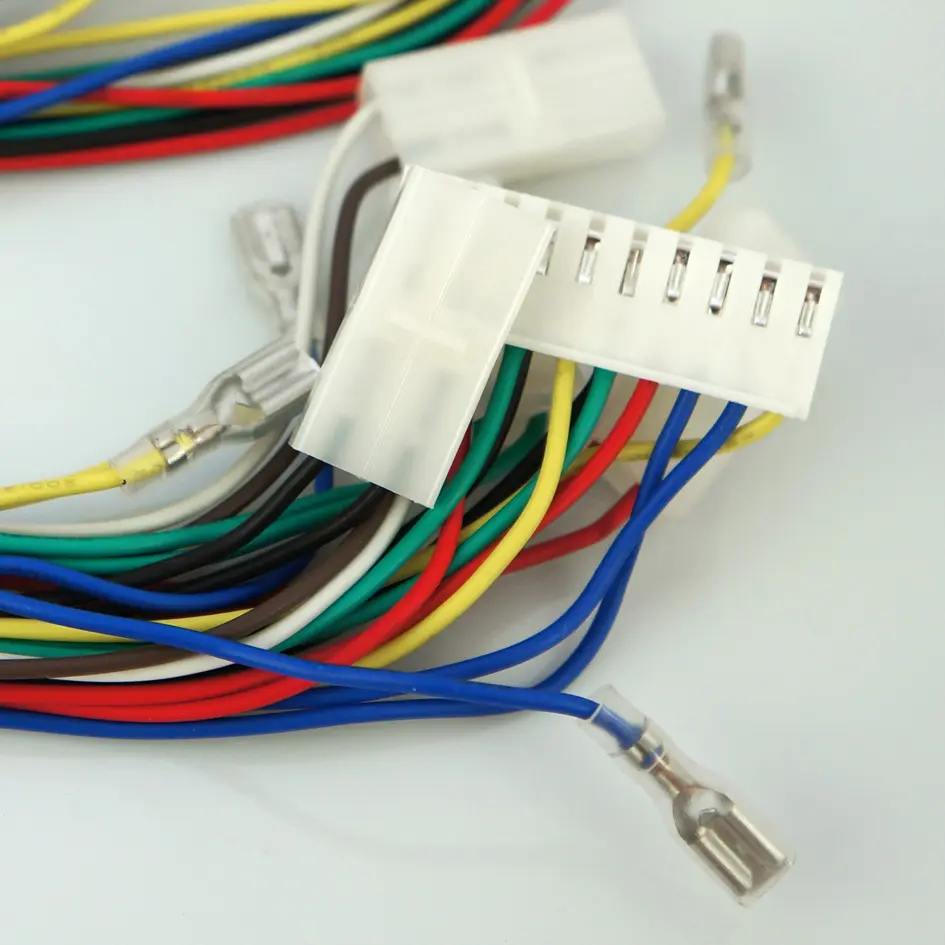
- Pre-Terminated Quick Connectors: Factory-crimped polarized female and male disconnect terminals eliminate wire stripping, soldering, or manual splicing.
- Fail-Safe Switch Logic: Directly connects the low-pressure dry-run safety switch (IP-RI-LS01) and high-pressure reservoir shutoff switch (IP-RI-HS01) to protect the booster pump motor.

IceCap
Premium aquarium equipment without the premium price. Protein skimmers, pumps, reactors, heaters & more.
IceCap Smart RO/DI Replacement Electrical Wire Harness
Automated reverse osmosis systems rely on precise electrical coordination between pressure sensors, electro-mechanical valves, and booster pumps to generate pure water safely. The IceCap Smart RO/DI Wire Harness (SKU: IC-RI-WH01 / IP-RI-WH01) is the official OEM multi-lead replacement wiring assembly engineered specifically for IceCap Smart RO/DI Systems and standalone IceCap Booster Pump Kits.
In automated water filtration, the wire harness acts as the central nervous system. It routes incoming direct-current power from the 24V transformer (IC-RI-PS01) to the high-pressure booster pump (IP-RI-BP01H), while wiring the low-pressure switch (IP-RI-LS01) and high-pressure switch (IP-RI-HS01) in series with the electronic controller and flush solenoid. This circuit ensures that if municipal water pressure drops below 7 PSI, the low-pressure switch opens to stop the pump from burning out dry; conversely, when a float valve on a storage vat closes, building backpressure above 35–40 PSI, the high-pressure switch signals the system to cease water production immediately. Over time, wiring harnesses in humid utility spaces or near floor drains can suffer internal conductor corrosion, loose spade terminals from repeated maintenance, or insulation damage from accidental wire pinching against metal chassis frames. Installing an authentic IC-RI-WH01 harness restores factory-safe connectivity and automated system control.
Ideal Replacement Scenario
If your IceCap Smart RO/DI booster pump fails to engage despite having adequate feedwater, if the high- or low-pressure cutoff switches fail to register, if terminals have developed greenish verdigris corrosion, or if individual wires were severed during a canister overhaul, installing an authentic IC-RI-WH01 restores dependable electrical operation.
(Note: Package includes (1) IceCap Smart RO/DI Replacement Wire Harness. Booster pump, power supply, and pressure switches sold separately).
What’s Included:
(1) IceCap Smart RO/DI Replacement Electrical Wire Harness (IC-RI-WH01 / IP-RI-WH01)
Technical Specs:
SKU / Factory Part Identifier: IC-RI-WH01 (IP-RI-WH01)
- Operating Voltage: 24V DC (Designed for standard 1.5A–2.0A RO booster circuits)
- Wire Gauge: 18 AWG / 20 AWG Multi-Strand Copper
- Insulation Material: High-Flexibility Flame-Retardant PVC
- Terminal Interfaces: Polarized DC Barrel / 2-Pin Plug for Power Supply, Quick-Disconnect Spade Terminals for Pressure Switches & Solenoid, Polarized Pump Motor Lead
- Primary Compatibility: IceCap Smart RO/DI System (100 GPD), IceCap Booster Pump Kit (IC-ROBPK), and universal 24V DC booster pump retrofits
Installation & Routing Guidelines:
Unplug the 24V power supply from the wall outlet and disconnect cold feedwater before servicing electrical lines.
Carefully unplug each branch of the old harness:
Disconnect the 2-pin or barrel jack from the power supply lead.
Unplug the spade connectors from the low-pressure switch (IP-RI-LS01).
Unplug the spade connectors from the high-pressure switch (IP-RI-HS01).
Disconnect the lead leading to the booster pump motor terminals (IP-RI-BP01H).
Unplug the solenoid valve / controller interface leads (if applicable).
Route the new IC-RI-WH01 along the chassis frame, aligning each labeled or color-coded branch with its corresponding component.
Press the spade terminals firmly onto the prongs of the high- and low-pressure switches, verifying snug mechanical friction.
Connect the booster pump motor leads and connect the DC power input lead to the power transformer.
Use zip-ties to bundle excess wire neatly behind the steel mounting frame, keeping all wires clear of vibrating tubing and water drain paths.
Reconnect the power supply, open the water line, and verify that the booster pump starts automatically and stops when the product line is closed.
Pro Tips:
- Bundle Wiring High on the Chassis Frame. When zip-tying the IC-RI-WH01 harness to your filtration frame, always secure the wires and electrical spade junctions well above the bottom line of the 10-inch filter canister bowls. Filter cartridge changes inevitably cause minor drips when sumps are unscrewed; elevating the wiring ensures terminals stay dry and free of electrolytic corrosion.
- Ensure Tight Friction on Spade Terminals. Booster pumps generate rhythmic micro-vibrations during operation that can work loose loose-fitting push-on spade connectors over time. When attaching the harness terminals to the high- and low-pressure switches, ensure they slide on with firm mechanical resistance. If a terminal feels loose, lightly squeeze the curled rolled edges of the female spade with needle-nose pliers before seating it onto the switch prong.